Spot Tracker Tutorial: Beads on Cilia
Data Set and Source
You can download the data set for this tutorial here: bc_07.
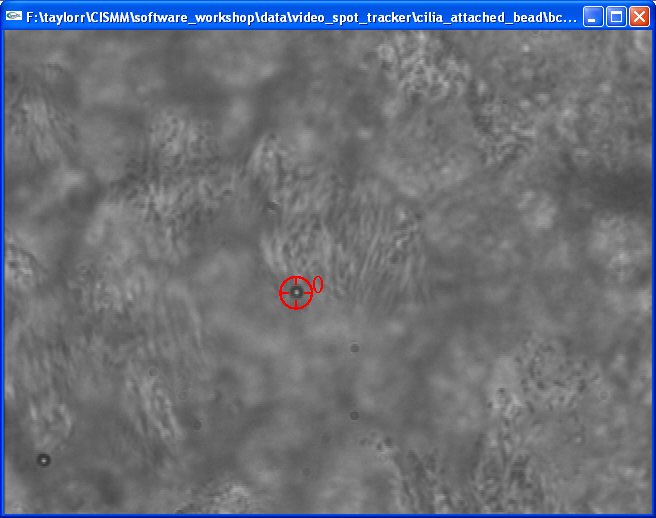
This example shows the video spot tracker working with a video that has significant background contrast in addition to the beads that we want to track. It is also a good test case for tracking fast-moving beads because they move a number of pixels between frames, even to the point of showing stretching during some of the frames.
This data comes from David Hill at Richard Superfine’s laboratory at the University of North Carolina at Chapel Hill. It is data from beads attached to cilia (or cilia clumps) on human lung ephethelial cells.
Recommended Analysis Procedure
Put a symmetric (default) tracker on the bead in the center of the image, setting its radius to 8 pixels (you can set the radius larger if desired; this will cause the tracking to run more slowly.. Set the follow_jumps checkbox. Turn on optimize. The tracking window should look something like this:

The kernel controls should look like this:

Press play_video. The tracker should follow the bead as it moves in the image.
There is a second bead in the lower-left corner of the image that can also be tracked for most of the video using the same settings listed above. However, there is enough blurring during one frame of motion near frame 250 where the bead becomes assymetric enough that it cannot be tracked for a few frames. By frame 360, it is once again trackable and it remains so for the rest of the video.